Installation procedure:
 |
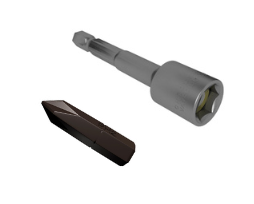
1. First step is selecting the correct screwdriver to install the Woodcon screw. |
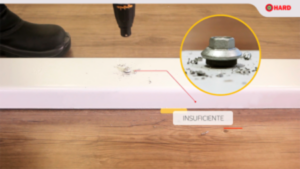 |
2. Afterwards, it is recommended to adjust the screwdriver depth limiter. |
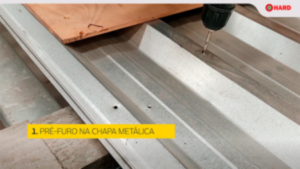 |
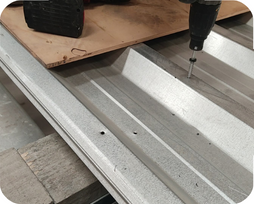
3. After preparing the equipment, it is recommended to do the pre-drilling in the tile plate (to prevent the drilled hole from becoming countersunk). In order to perform this pre-drilling in the metal sheet for the M5 and M6 gauges, it is recommended to drill with 4.5 and 5.5 mm high speed steel drills respectively. |
Application in concrete:
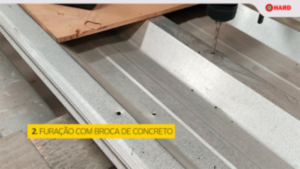 |
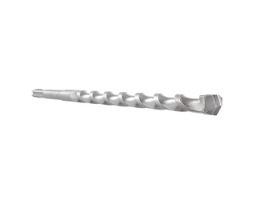
1. After performing the pre-drilling in the tile plate, it is necessary to perform the pre-drilling in the concrete, with the necessary diameter and inlay. It is important to observe that for the M6 and M5 screws, the concrete drills must be 5 and 4 mm, respectively. |
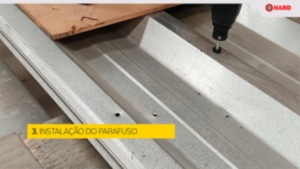 |
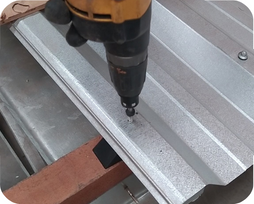
2. Afterwards, apply the woodcon screw with the aid of a high torque screwdriver. |
Application in wood:
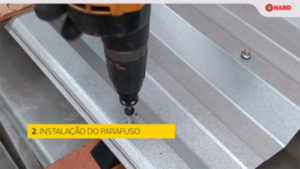 |
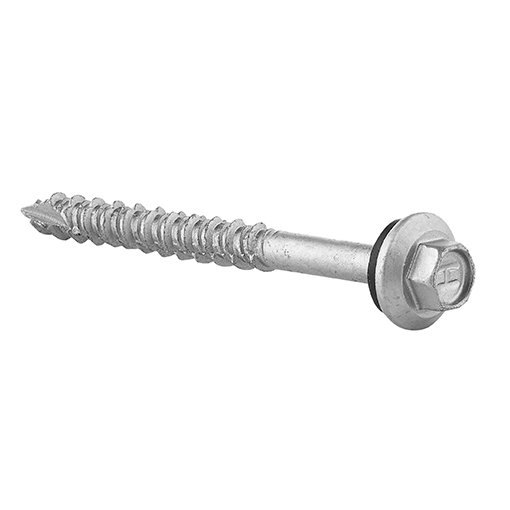
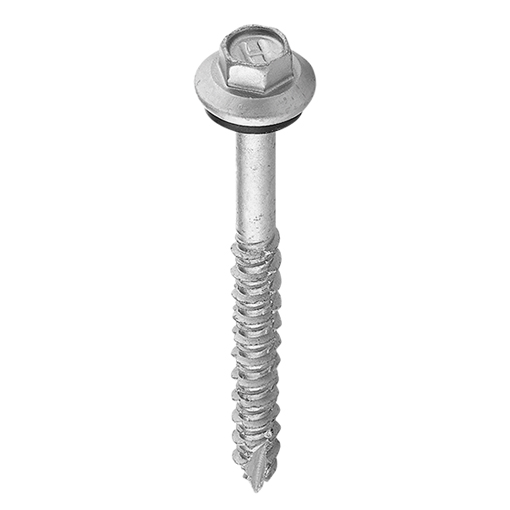
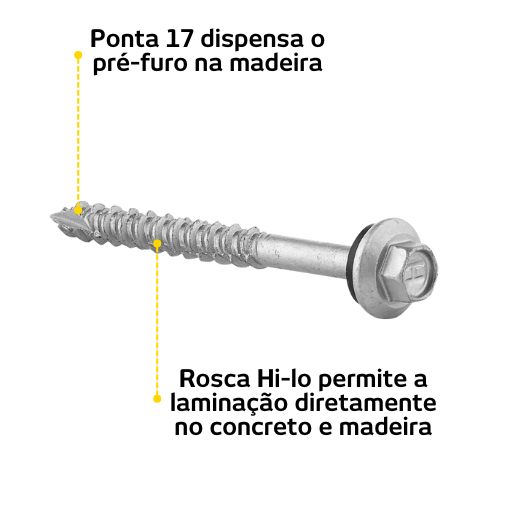
1. After performing the pre-drilling in the tile plate, apply the screw with the aid of a high torque screwdriver. Since the woodcon screw has a 17 point, it eliminates the need to pre-drill the wood. |
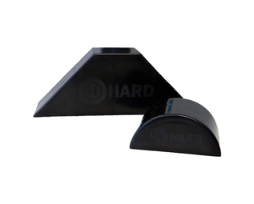
Note: Do not forget to use the shim when using a single tile and in a high wave, so that the tile does not dent while applying the screw. It is also important to be aware to the size of the drills (refer to table – Commercial data).